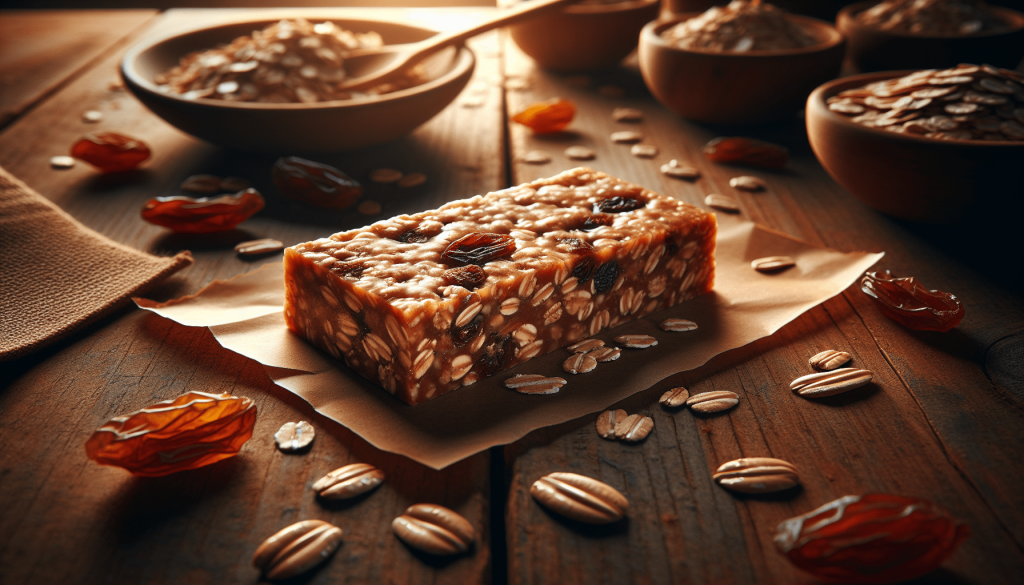
If you have children at home, offering them homemade snacks is a great option. Preparing them together can be fun, and you can make extra to store for later! Oat bars are a fantastic snack option, offering a perfect balance of taste and nutrition. They are easy to make and can be customized with your favorite ingredients. Whether you’re looking for a quick breakfast option or a midday energy boost, homemade oat bars are the way to go. Let’s dive into the art of making these delightful treats!
Why Choose Homemade Oat Bars?
- Healthier Ingredients: Control what goes into your bars, avoiding preservatives and excessive sugars.
- Cost-Effective: Homemade bars are often cheaper than store-bought ones.
- Customization: Tailor the flavors to your liking with various add-ins.
Basic Ingredients
To get started, you’ll need a few basic ingredients:
- Rolled Oats: The foundation of your bars, providing texture and nutrition.
- Sweetener: Honey, maple syrup, or agave work well.
- Binding Agent: Nut butter or coconut oil helps hold everything together.
- Mix-ins: Choose from nuts, seeds, dried fruits, or chocolate chips.
Step-by-Step Recipe
Ingredients
- 2 cups rolled oats
- 1 cup nut butter (such as almond or peanut butter)
- 1/2 cup honey or maple syrup
- 1/2 cup mix-ins (e.g., raisins, chopped nuts, chocolate chips)
- 1 teaspoon vanilla extract
- A pinch of salt
Instructions
- Prepare the Pan: Line an 8×8 inch baking dish with parchment paper, leaving some overhang for easy removal.
- Mix Wet Ingredients: In a saucepan over low heat, combine the nut butter and honey. Stir until smooth, then remove from heat and add vanilla extract.
- Combine Dry Ingredients: In a large bowl, mix the oats and salt. Pour the wet mixture over the oats and stir until well combined.
- Add Mix-ins: Fold in your chosen mix-ins, ensuring they’re evenly distributed.
- Press and Chill: Transfer the mixture to the prepared pan. Press firmly with a spatula to ensure the bars hold together. Refrigerate for at least 2 hours or until firm.
- Slice and Serve: Once set, lift the bars out of the pan using the parchment overhang. Slice into squares or rectangles and enjoy!
Tips for Perfect Oat Bars
- Consistency is Key: Make sure the mixture is not too dry or too wet. Adjust with more nut butter or oats as needed.
- Press Firmly: Ensures the bars hold together well when sliced.
- Storage: Keep in an airtight container in the fridge for up to a week, or freeze for longer shelf life.
Flavor Variations
- Chocolate Lover’s Delight: Add cocoa powder to the mixture and top with chocolate chips.
- Tropical Twist: Use dried pineapple, coconut flakes, and macadamia nuts.
- Berry Bliss: Incorporate dried cranberries and white chocolate chips for a sweet-tart flavor.
Making oat bars at home is not only simple but also a great way to ensure you have a healthy snack on hand. Experiment with different ingredients to find your perfect combination and enjoy the wholesome goodness of homemade oat bars!
